Open the bot and select the feature
Press the 🎬 Video button in the main menu or send the /video command.
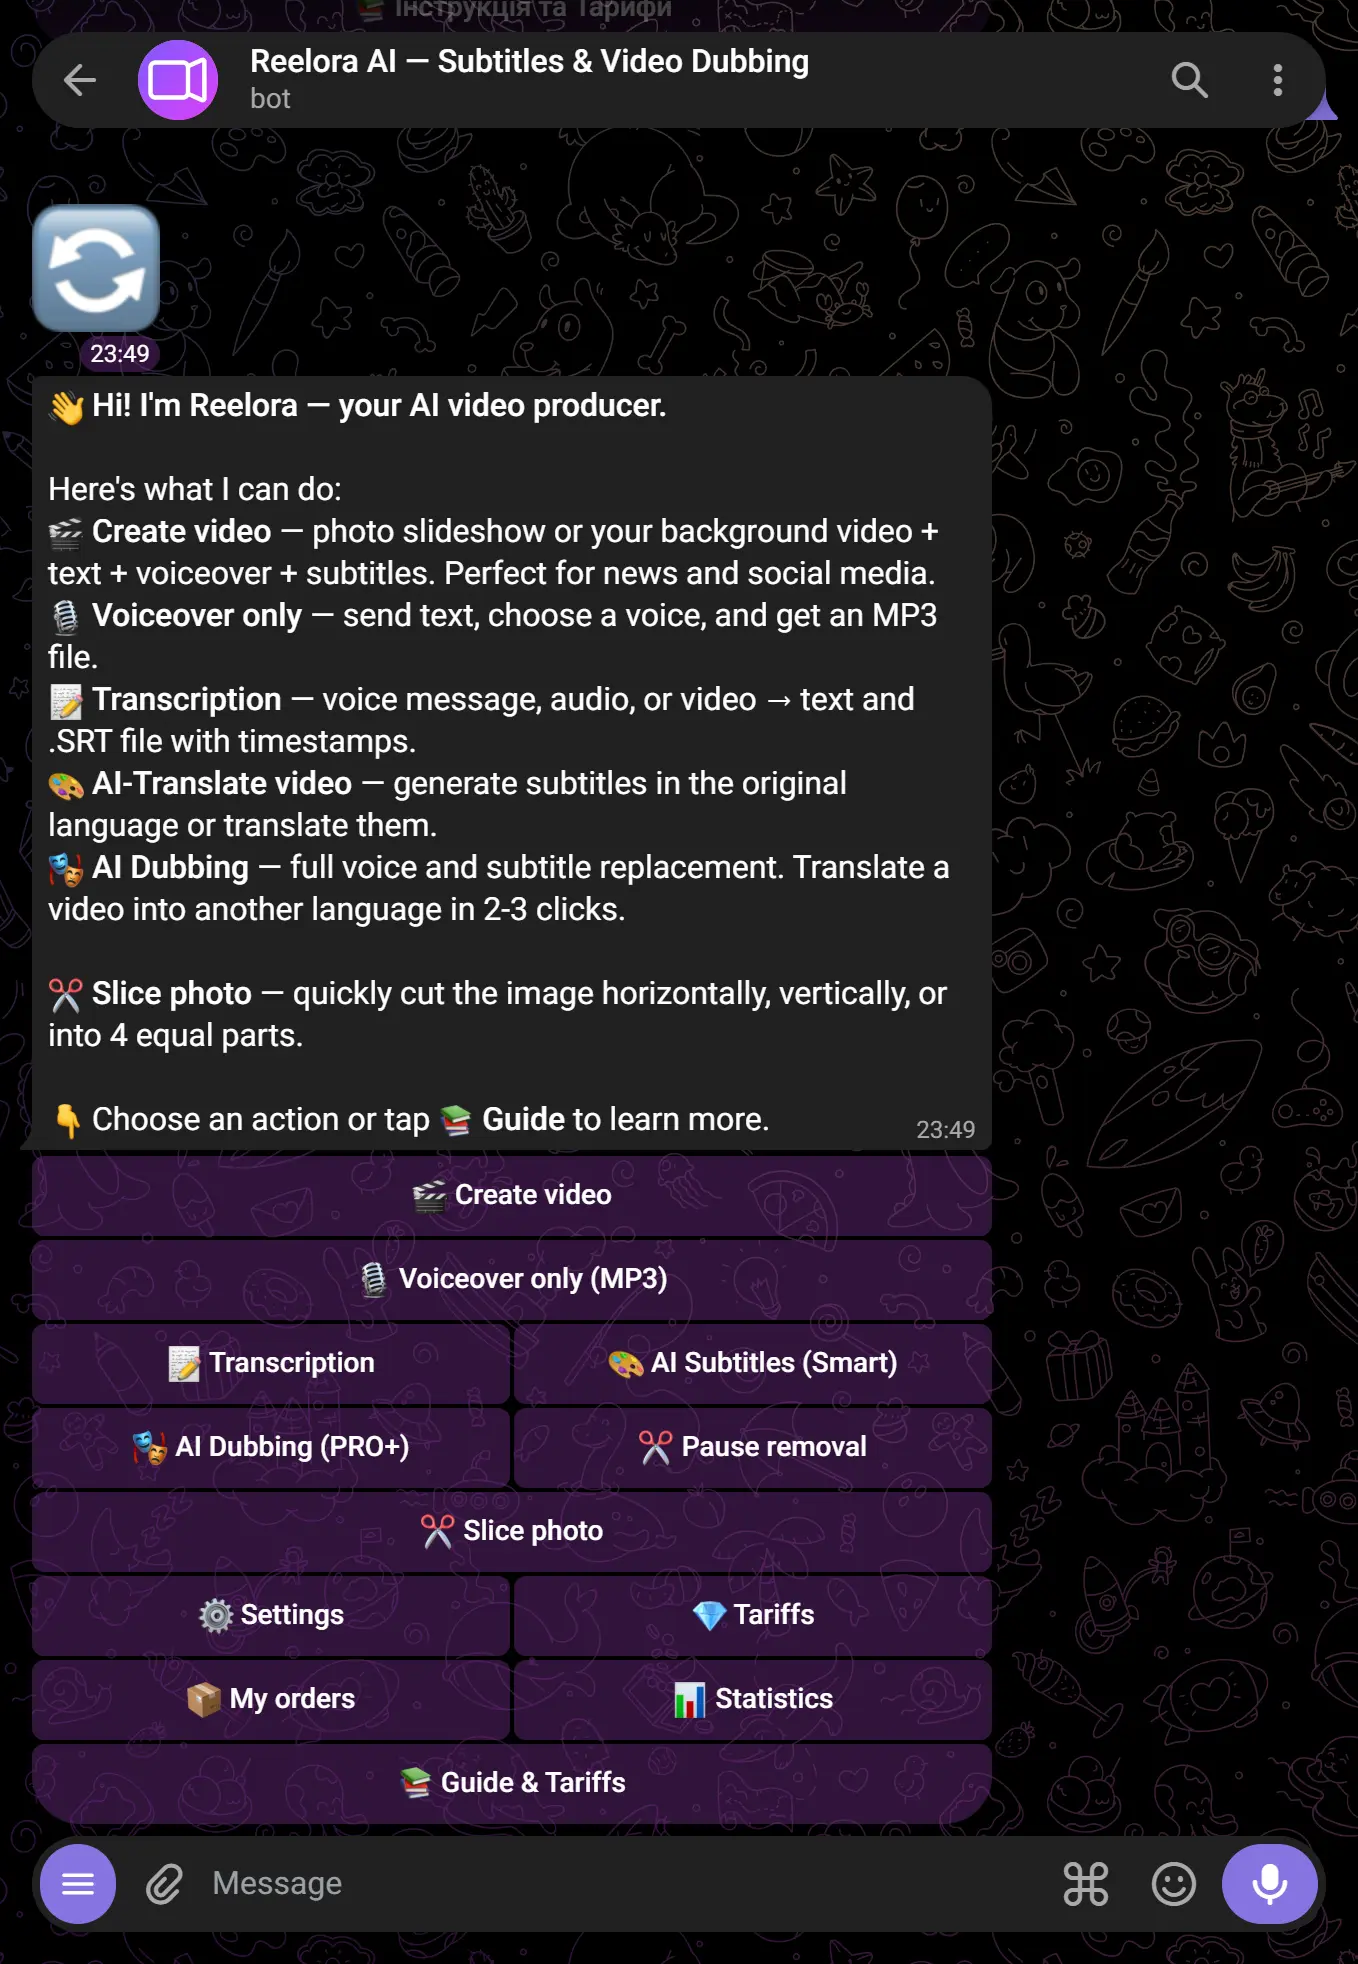
Send photos or clips
Upload from 1 up to 5–30 photos (depending on your plan). You can send them as an album or one by one. JPG, PNG, and MP4 formats are supported.
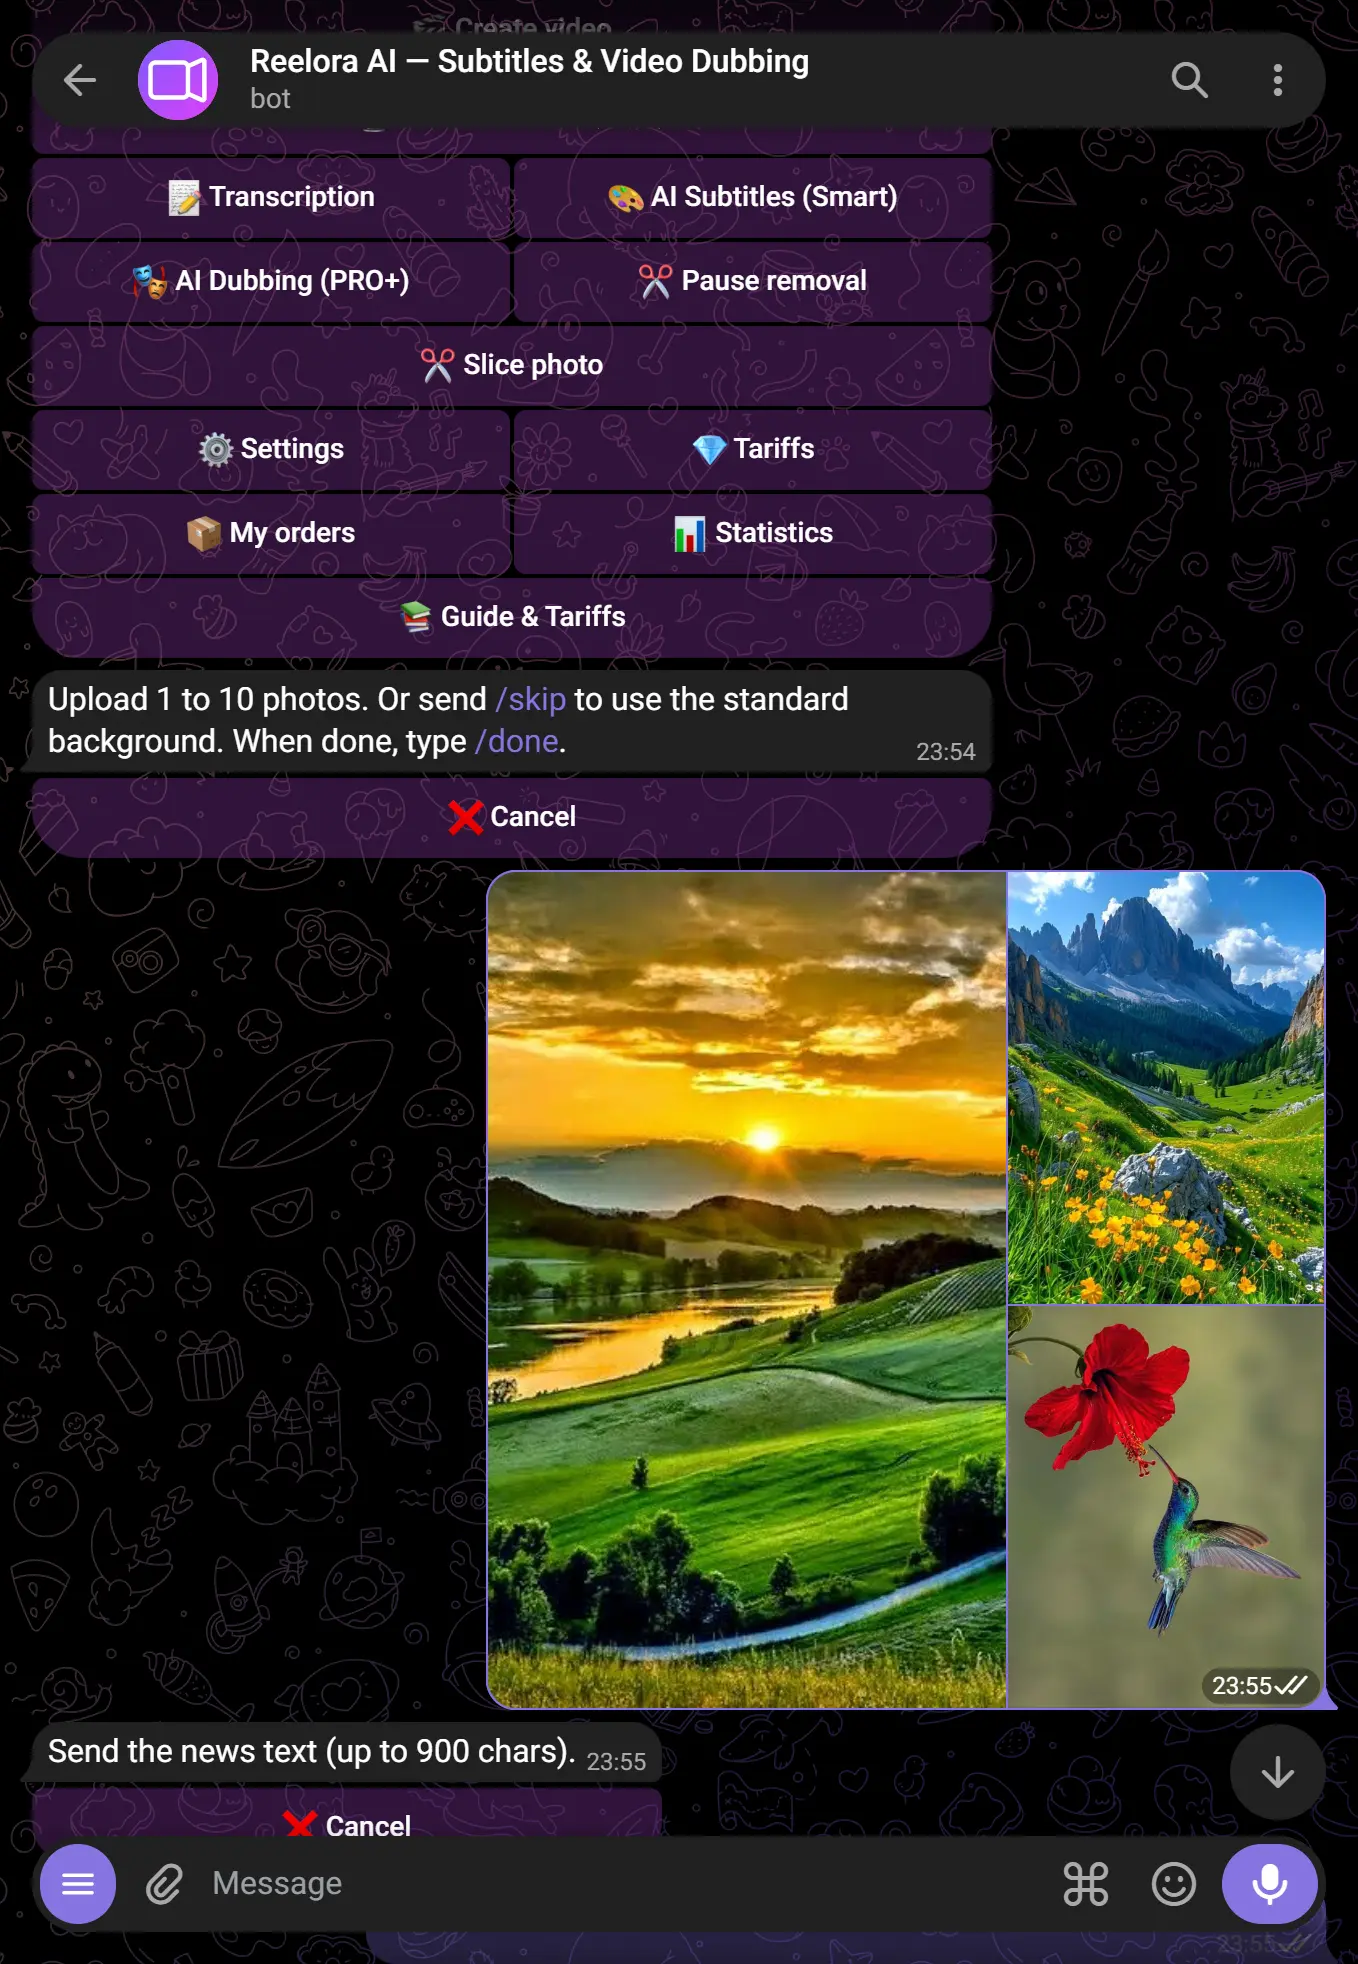
Configure settings
The bot will display a settings menu:
- Text for voiceover — enter your text or leave it blank
- Voice — choose from the list or use your own (Pro+)
- Subtitles — enable / disable, choose a style
- Background music — choose a track or turn it off
- Format — 9:16, 16:9, 1:1
- Voice & language — choose from the list or use your own (Pro+). 31 voiceover languages are available — from Ukrainian and English to Arabic, Persian, Korean, Kazakh and more
- Transitions — pick the shot-change animation (fade, slide, zoom, circle, pixel and others) or “random”
- Clip length — set a target duration in seconds. If the video comes out longer, the bot speeds it up automatically (video, audio and subtitles in sync) to fit
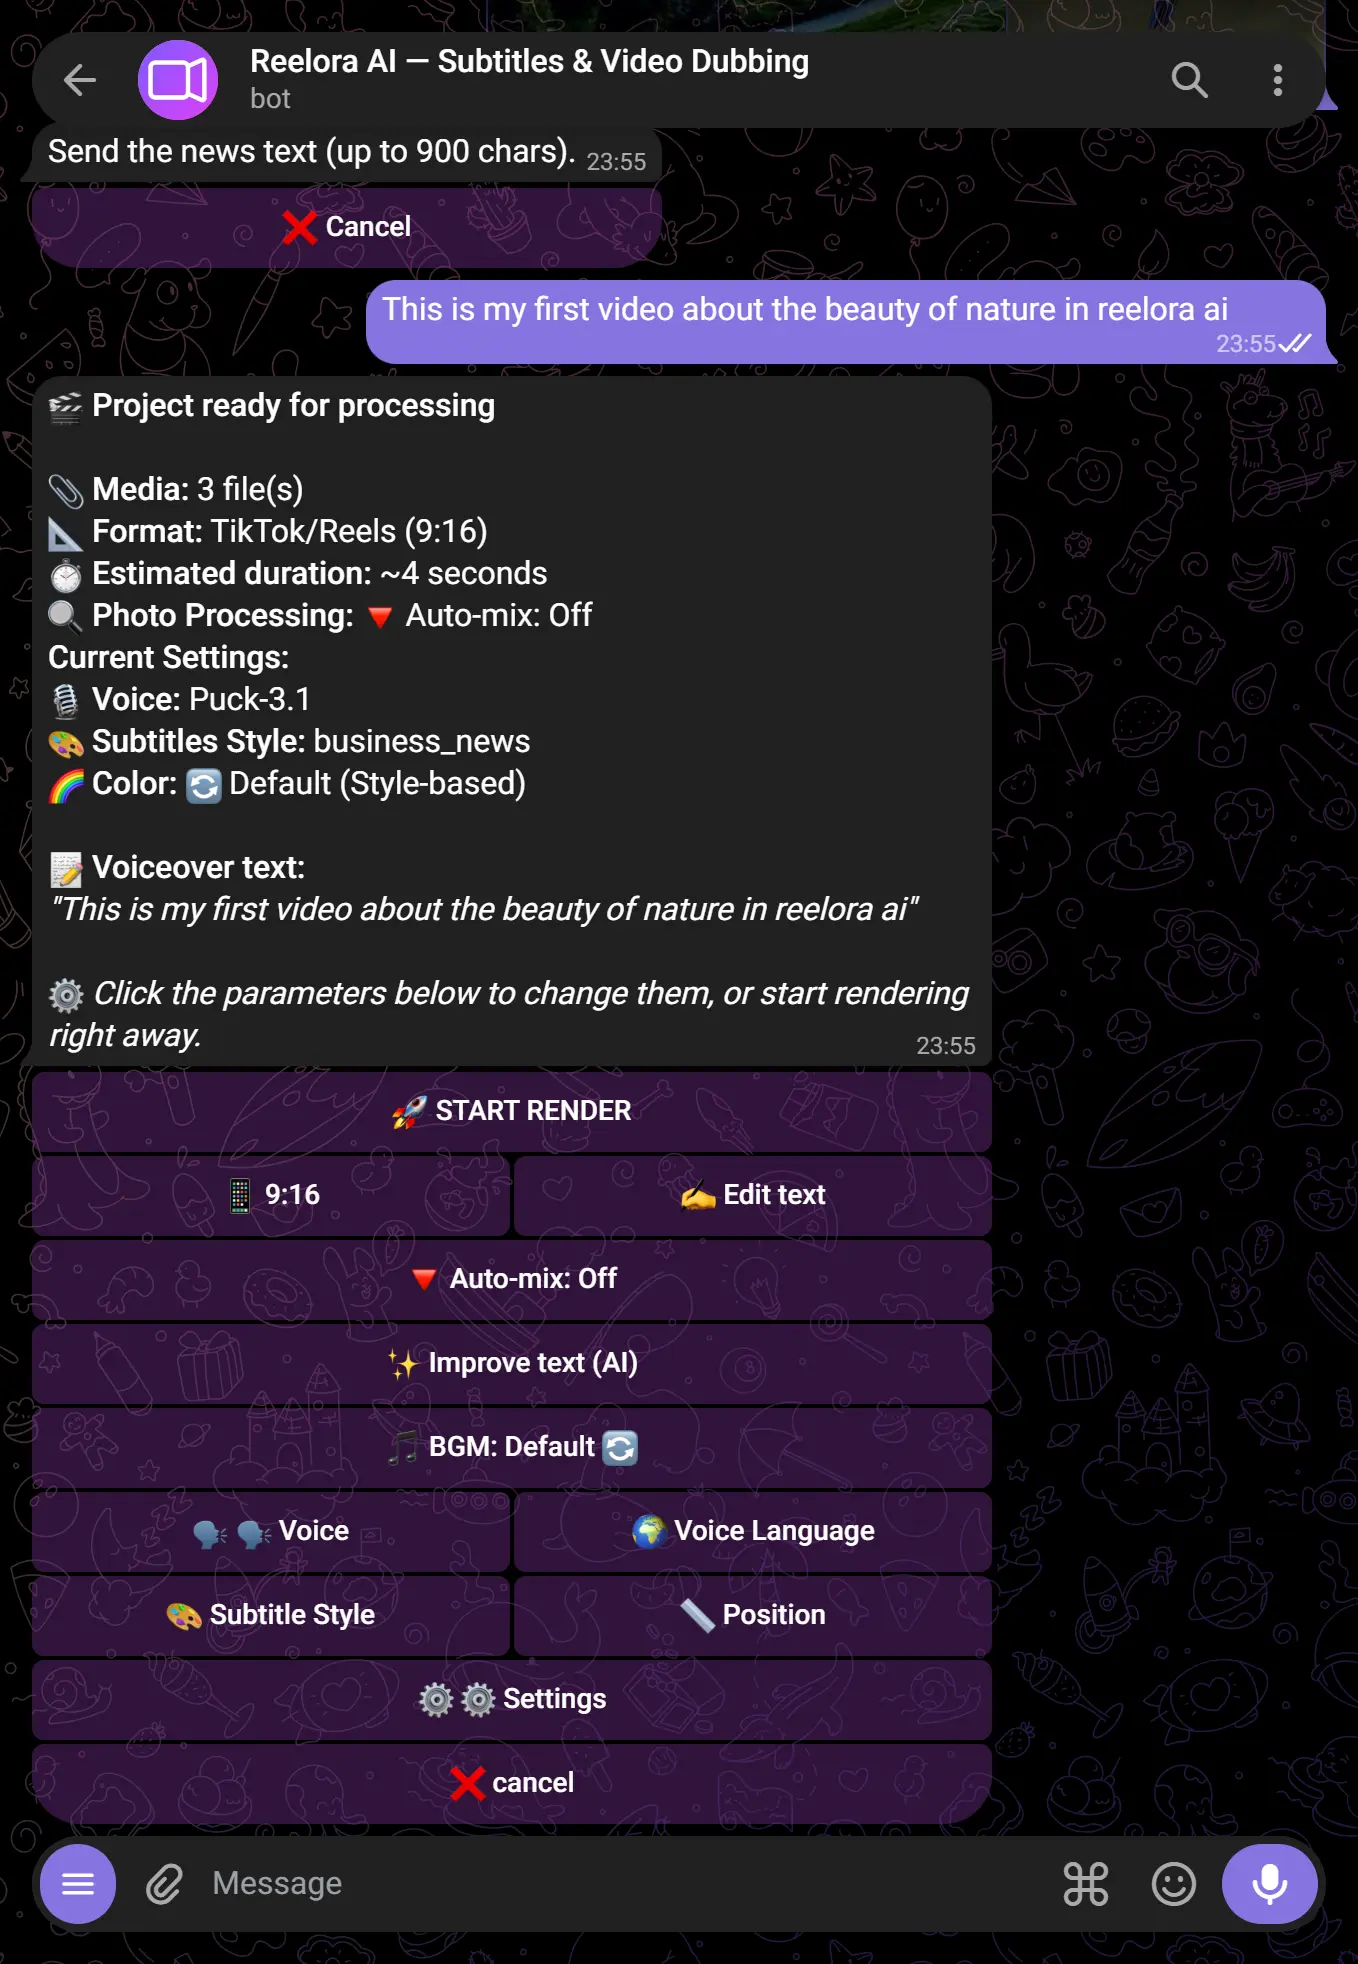
Split the text into scenes (optional)
To change the shot exactly where you want — insert a {scene} marker into the voiceover text between paragraphs. The bot syncs the photo change with the words, and the markers don't reach the voiceover (the voice never reads them).
{scene}— just switch to the next photo{scene:slide}— switch with a specific transition (slide, zoom, fade, circle…){scene:zoom:0.8}— a “zoom” transition lasting 0.8 seconds
First shot about coffee {scene:slide} Second shot about dessert {scene:zoom} Third shot with the price — the bot makes three scenes with different transitions. Match the number of markers to the number of photos.Get your ready video
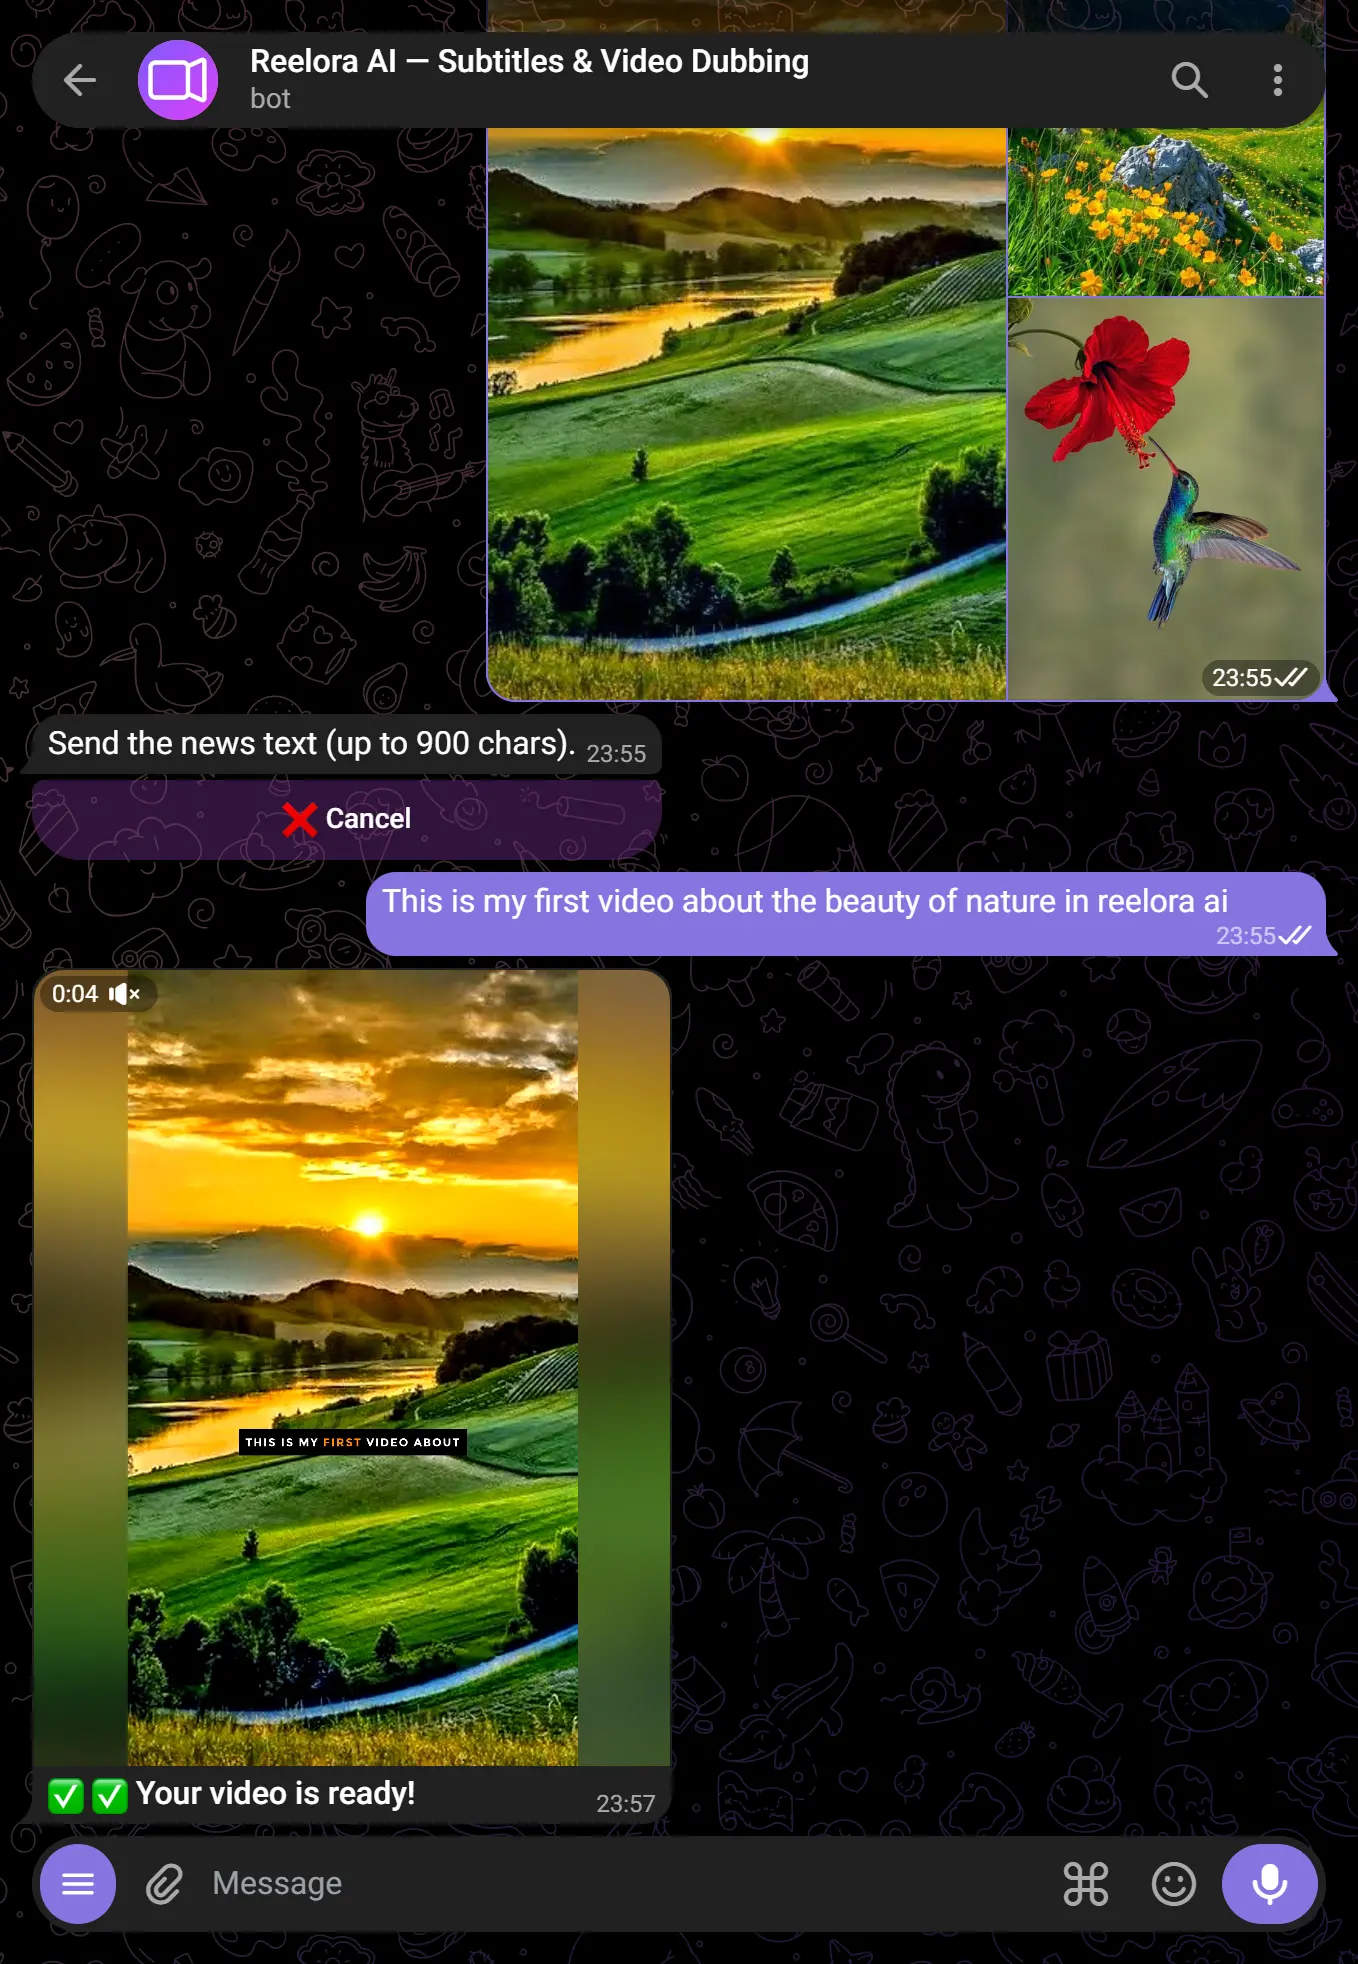
Press ✅ Generate. The bot will process your request and send the final MP4 directly to the chat — usually within a few seconds.
⚡ Text on video & auto-text (optional)
Besides subtitles, you can burn your own captions/titles over the frame — manually or fully automatically.
- Text on video (manual) — tap “📝 Text on video” and add captions with buttons, or set them with codes
TEXT | attributes | start-end(e.g.Hello | large yellow center pop | 0-3). Each caption has its own style, size, position, color and fade timing. The appearance animation is picked with the 🎬 button or in codes:pop,slide,type(typewriter). - ⚡ Auto-text — turn on the “⚡ Auto-text” toggle — the bot reads the voice-over itself, picks the strongest words (names, numbers, facts) and highlights them with animated captions exactly as they are spoken. Less manual work, more dynamics.
Select the subtitles feature
Press 📝 Subtitles in the menu or send /subtitles.
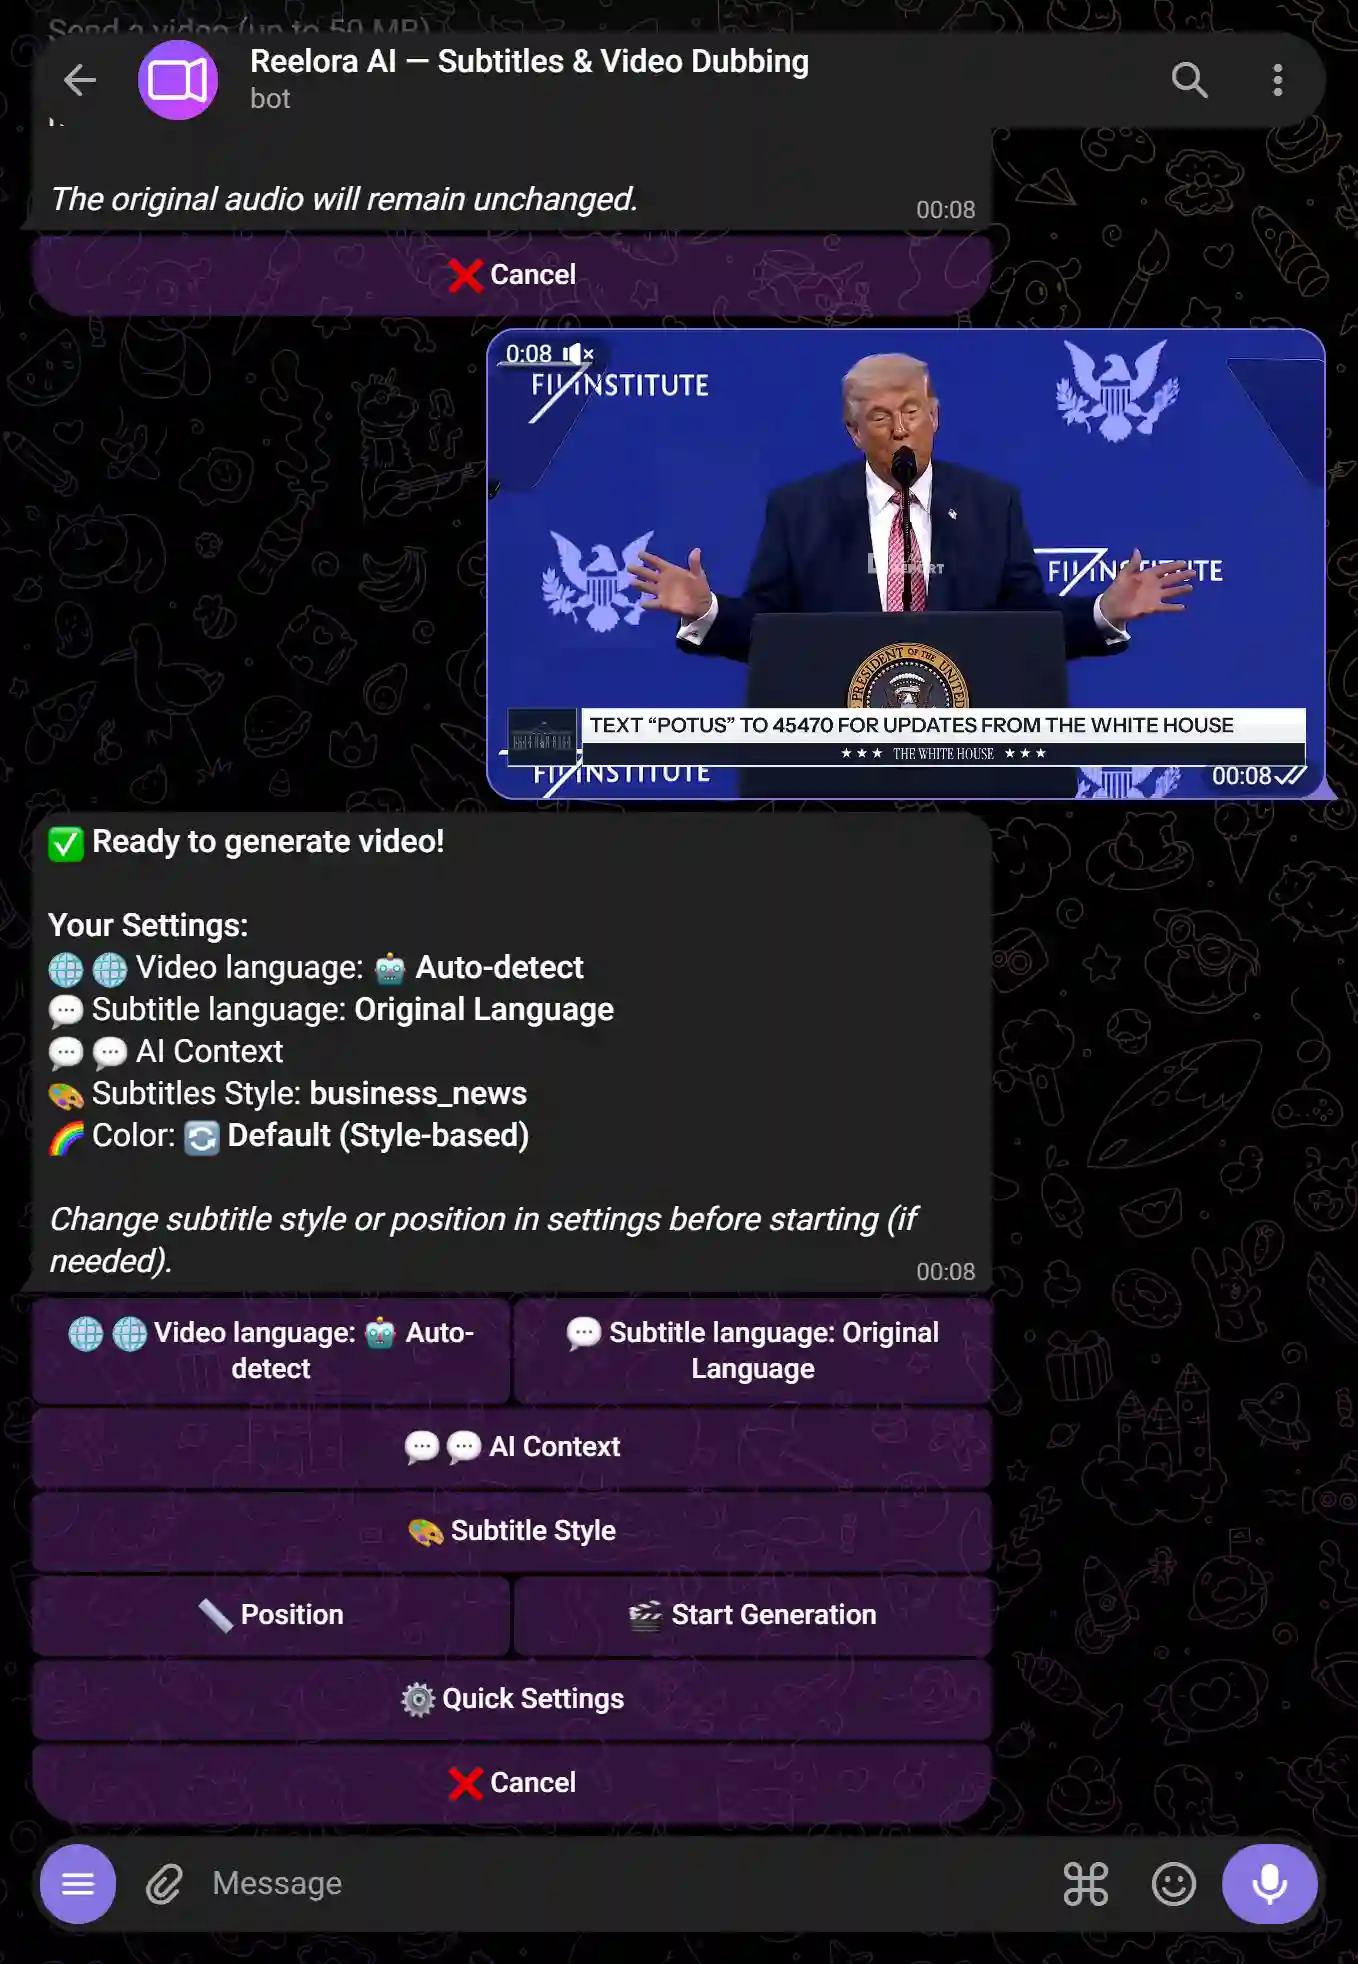
Send your video
Upload a video file up to 500 MB (depending on your plan). MP4, MOV, AVI, and other common formats are supported.
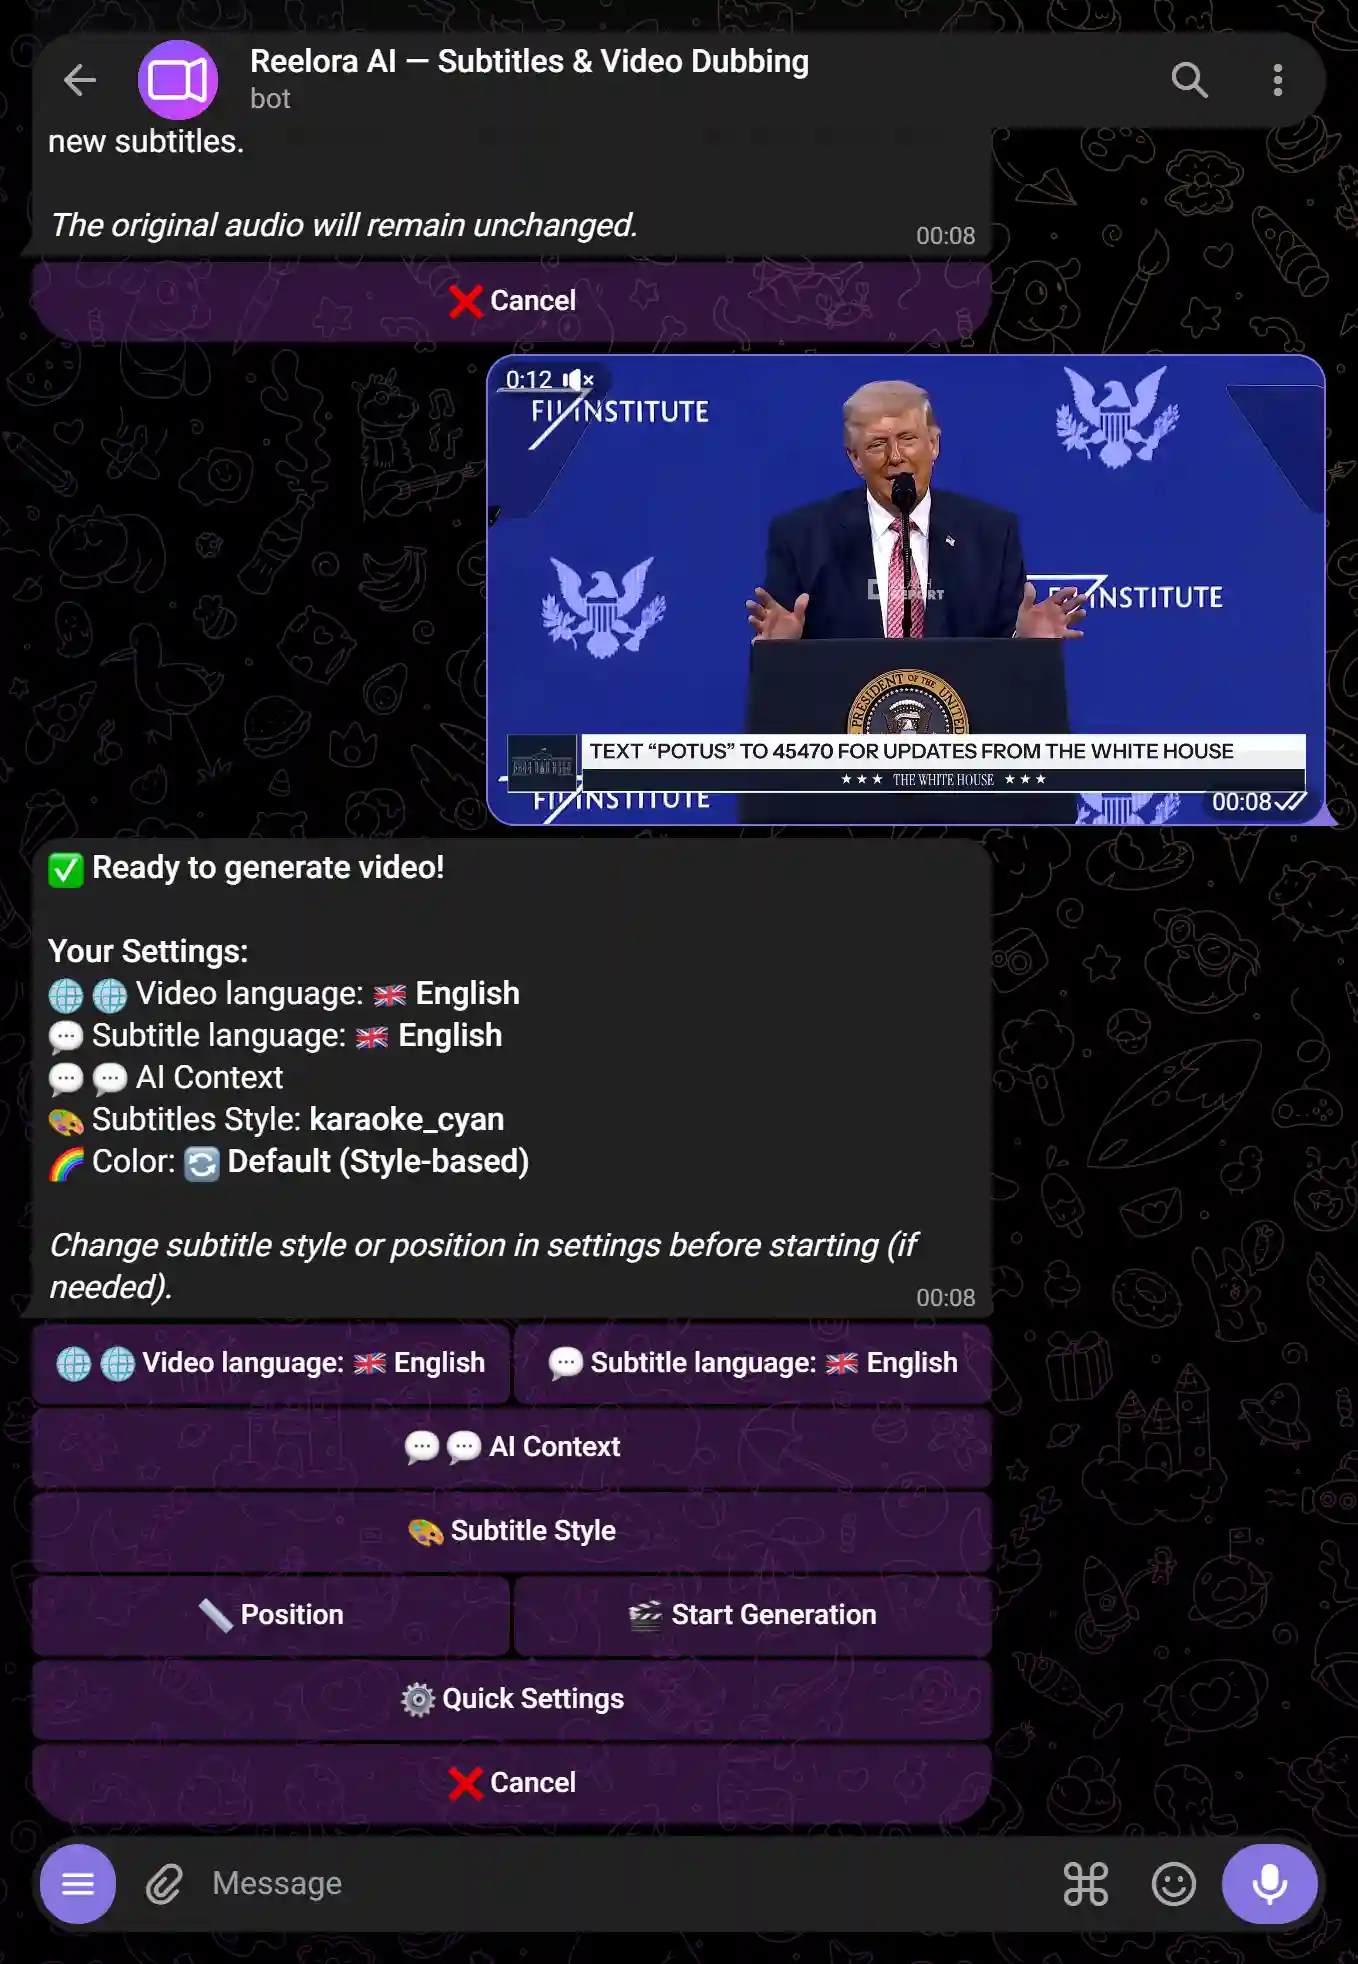
Choose language and style
Specify the spoken language in the video and the subtitles style — color, size, position, and animation.
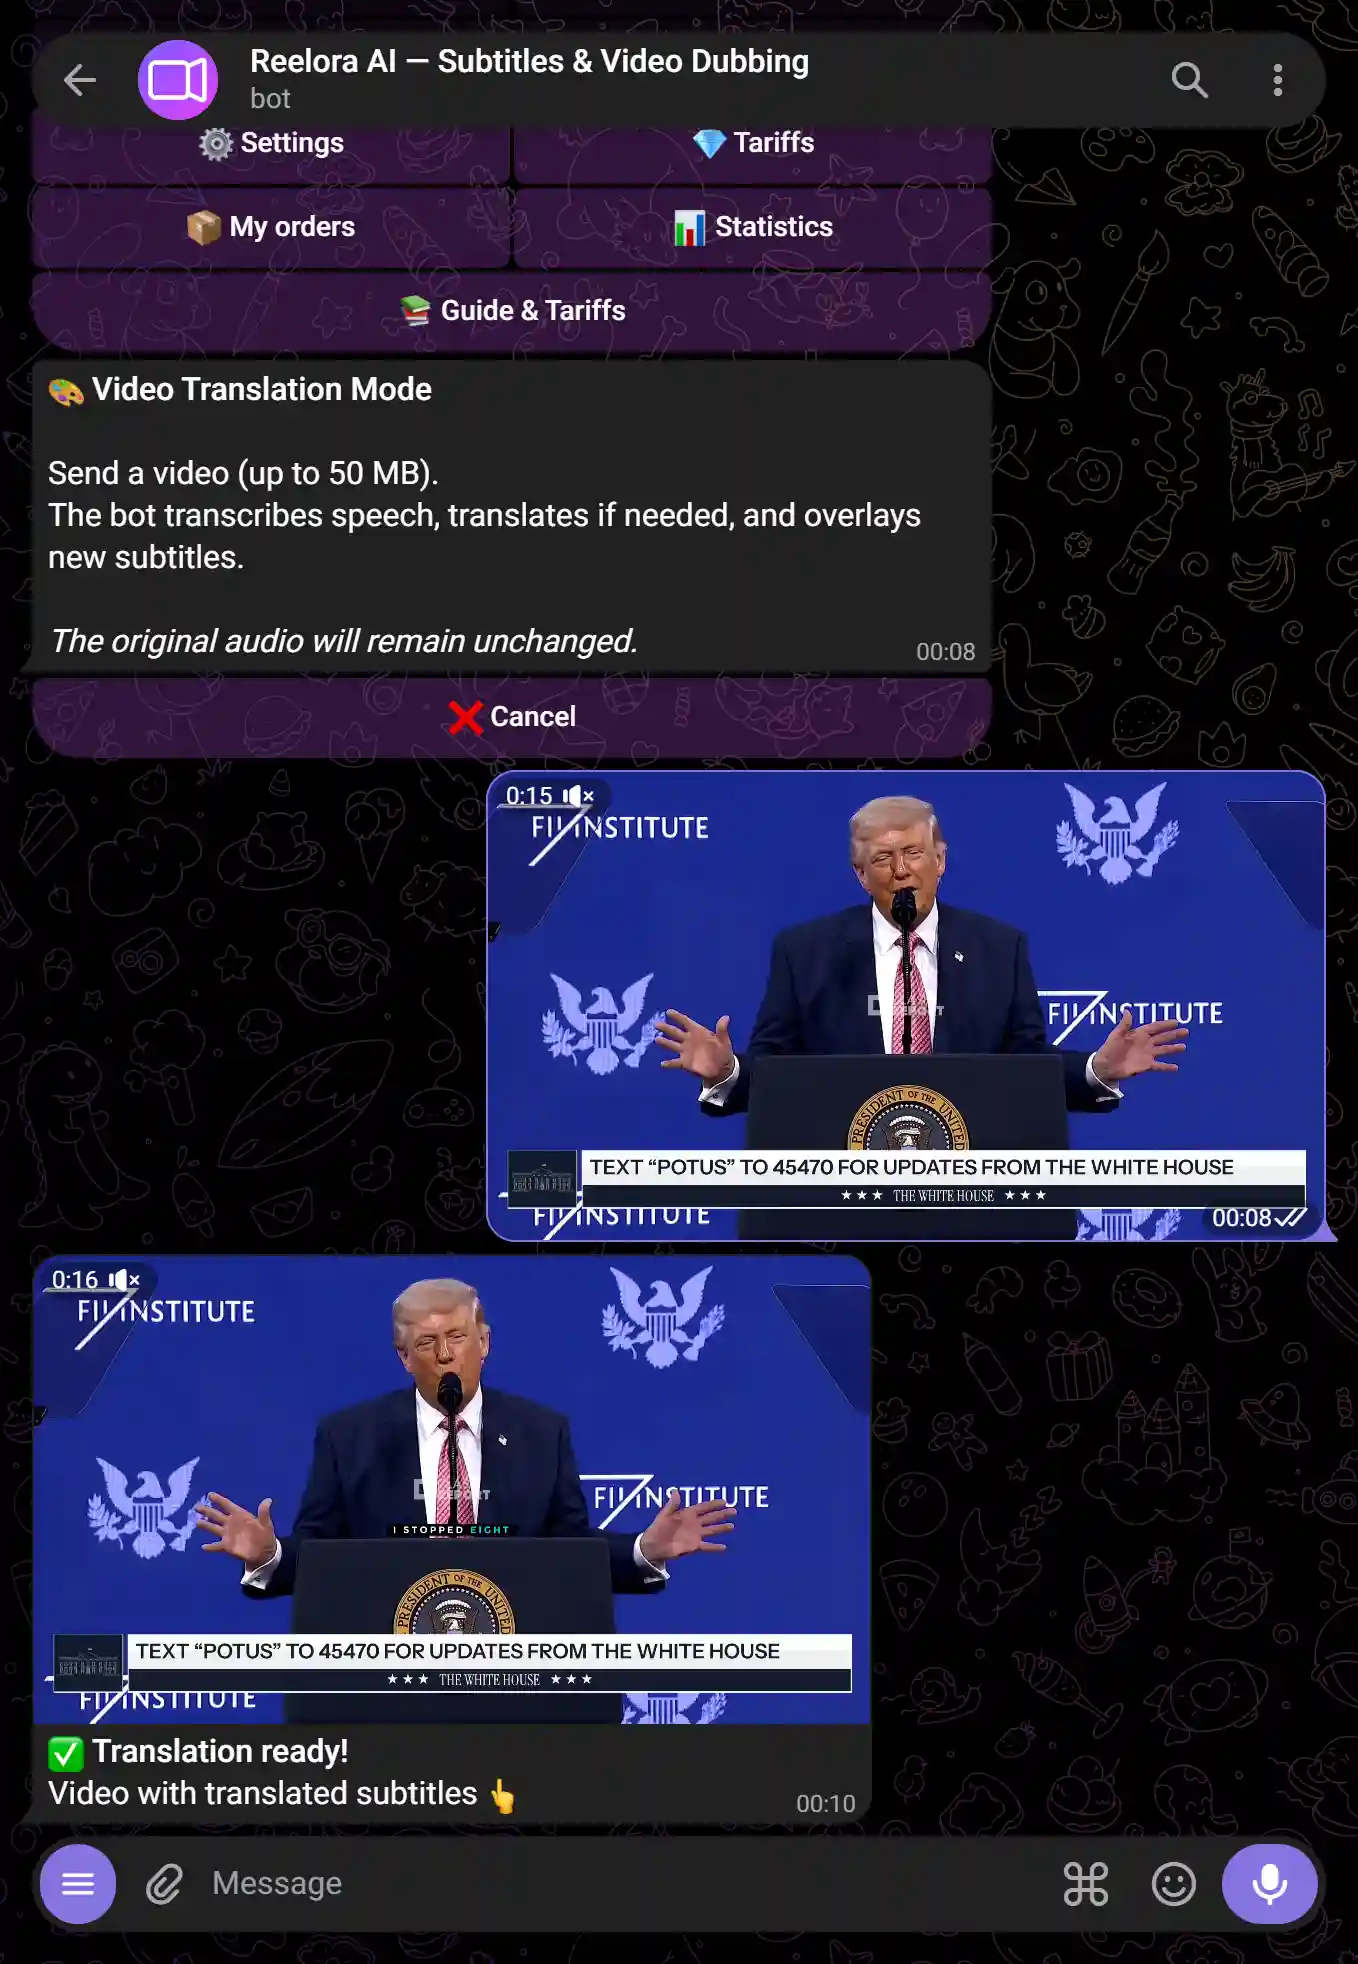
Get your video with subtitles
The bot will return a ready-to-use MP4 with hardcoded ("burned-in") subtitles — they are visible on any device without extra configurations.
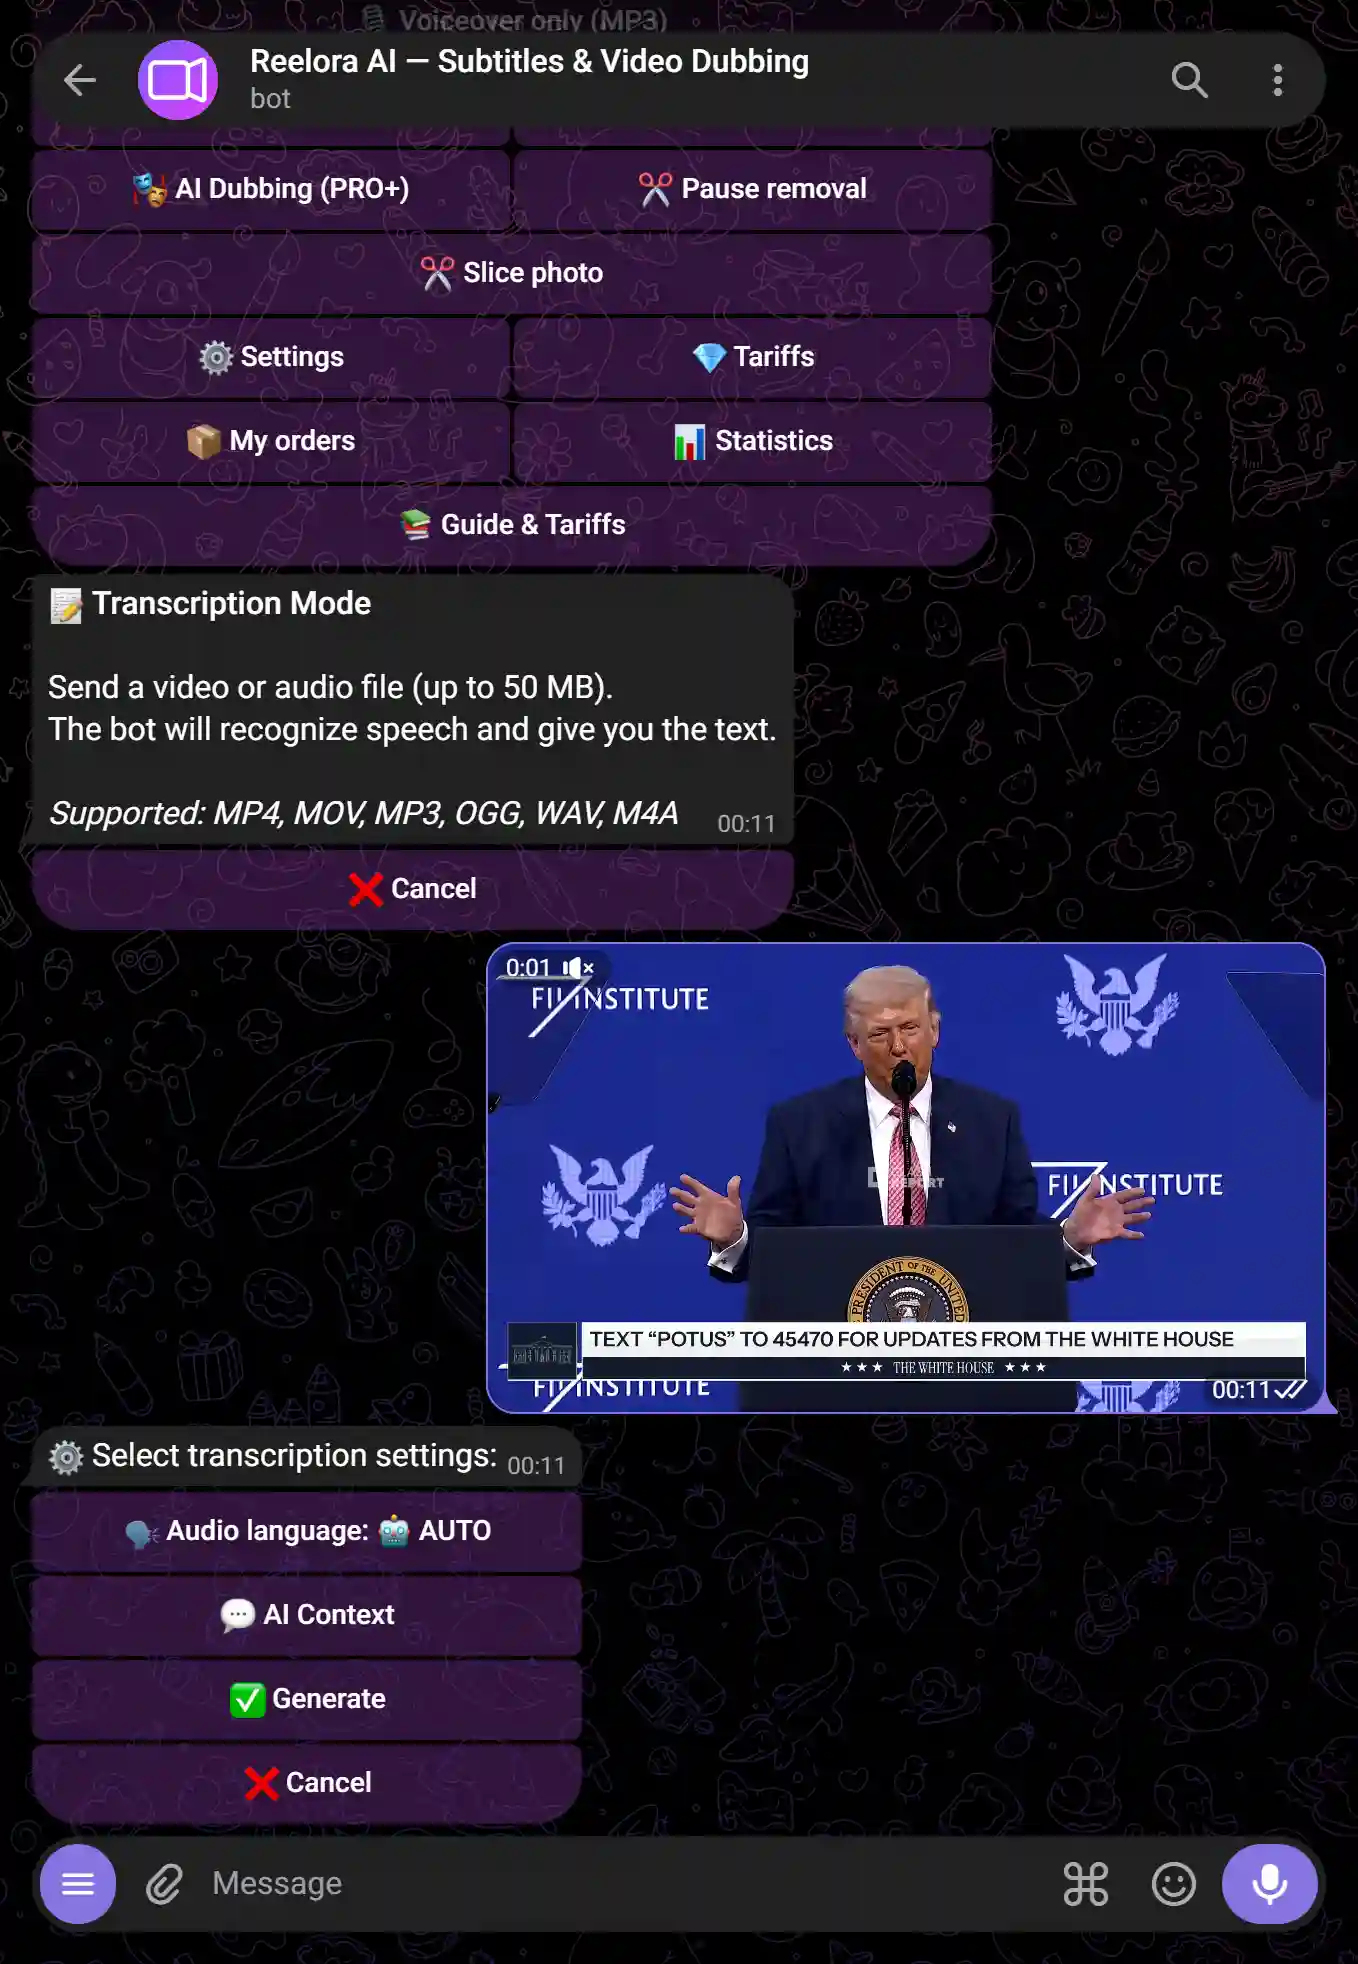
Select the transcription feature
Press 🎙️ Transcription in the menu or send /transcription.
Send audio or video
MP3, WAV, OGG, MP4, and most common formats are supported. Maximum duration depends on your plan (from 15 min on Free to 20 hours on Pro+).
Get the text
The bot will return the transcription as a TXT file (plain text) and an SRT file (with timecodes for subtitles).
Select the dubbing feature
Press 🔊 Dubbing in the menu or send /dubbing.
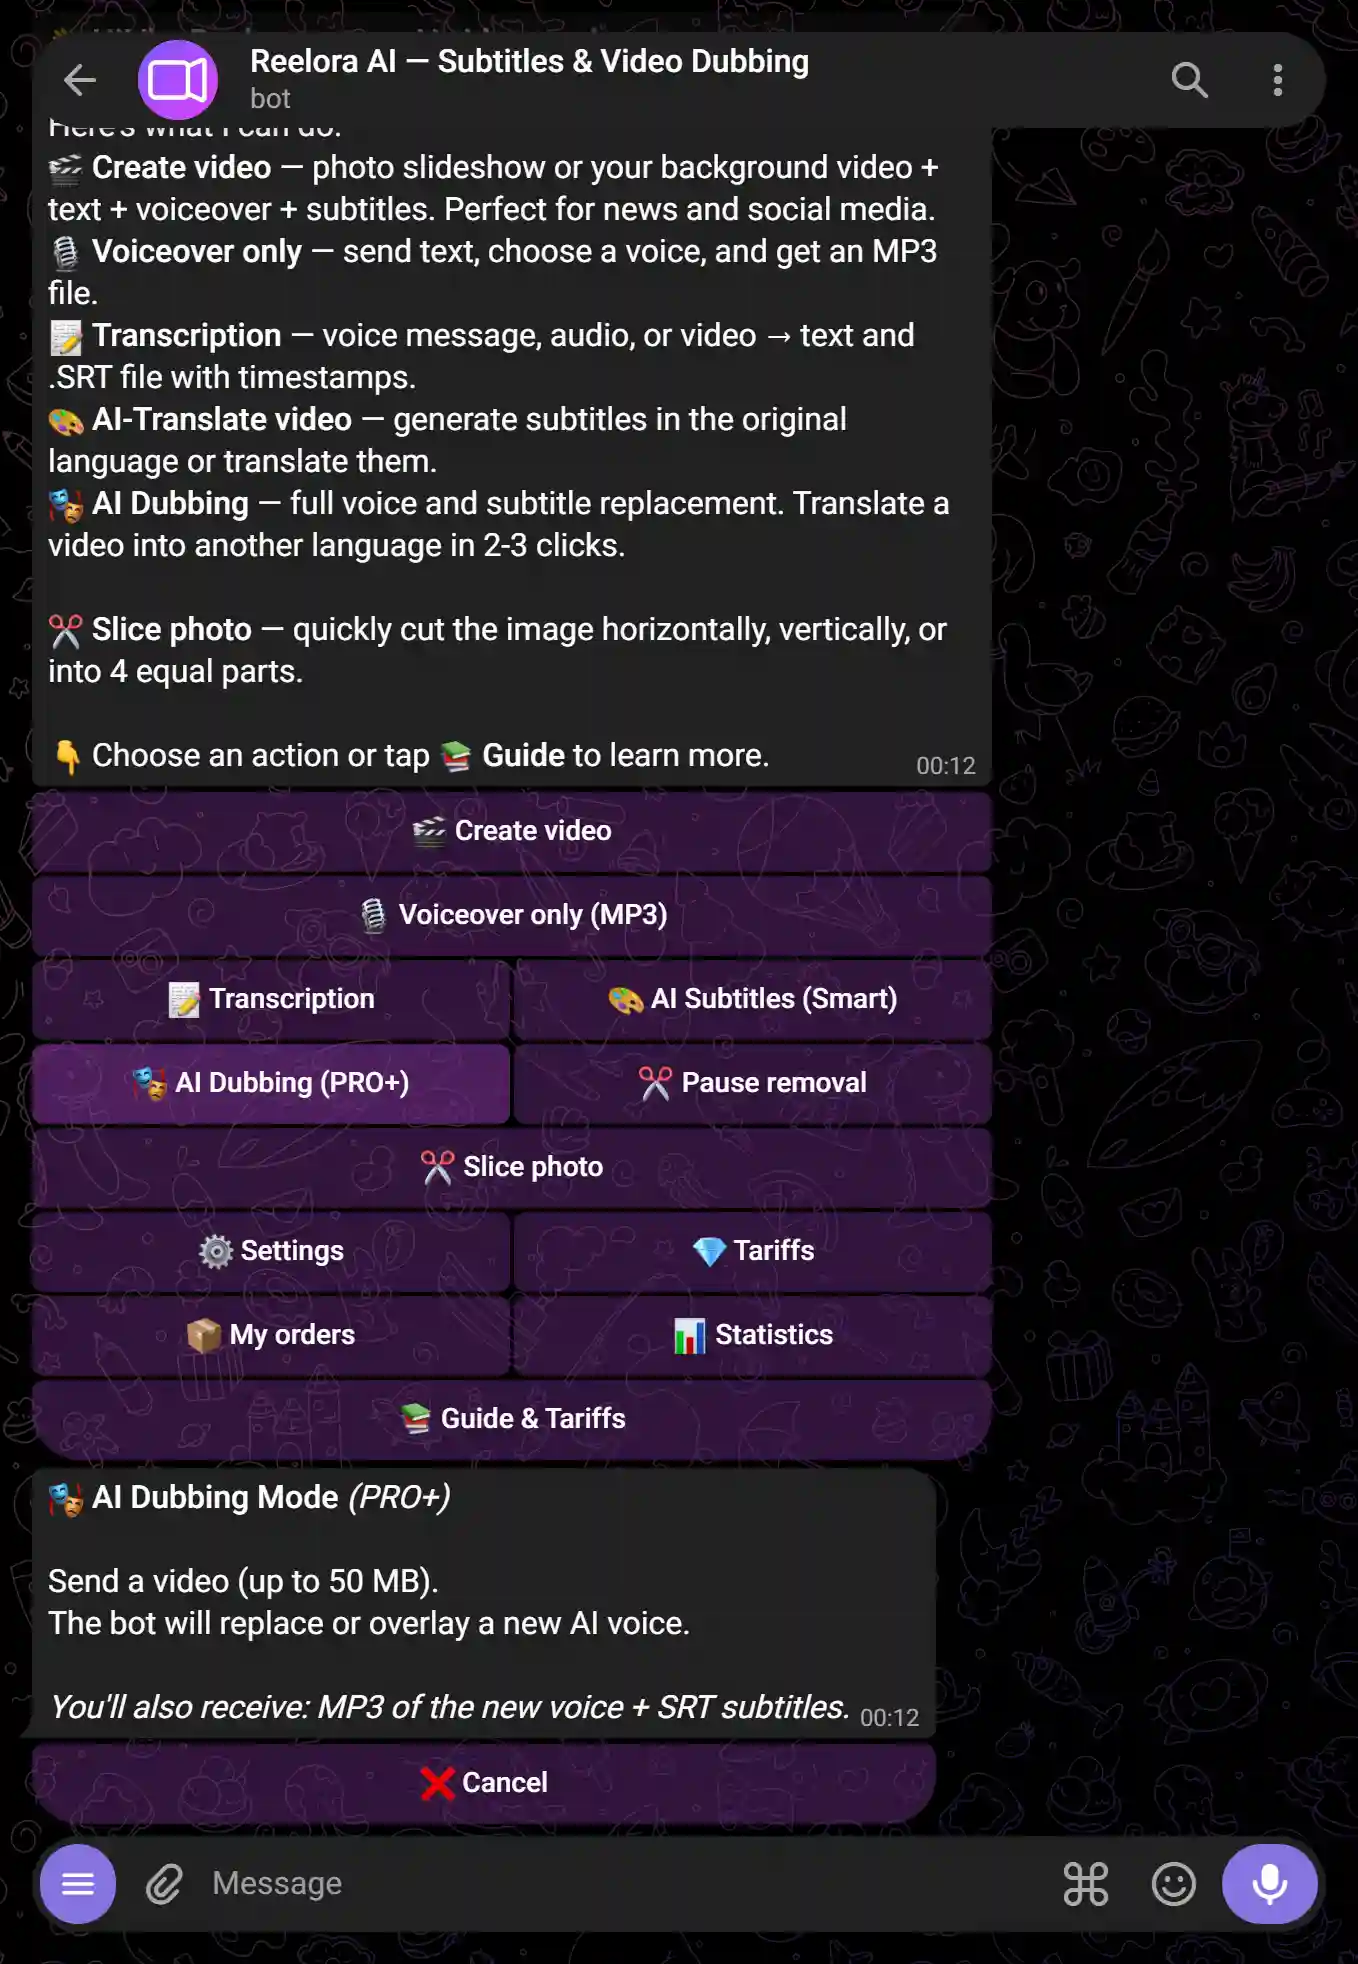
Send your video
Upload the video containing the voice you want to replace. Time limits for dubbing range from 1 min on Free to 5 hours on Pro+.
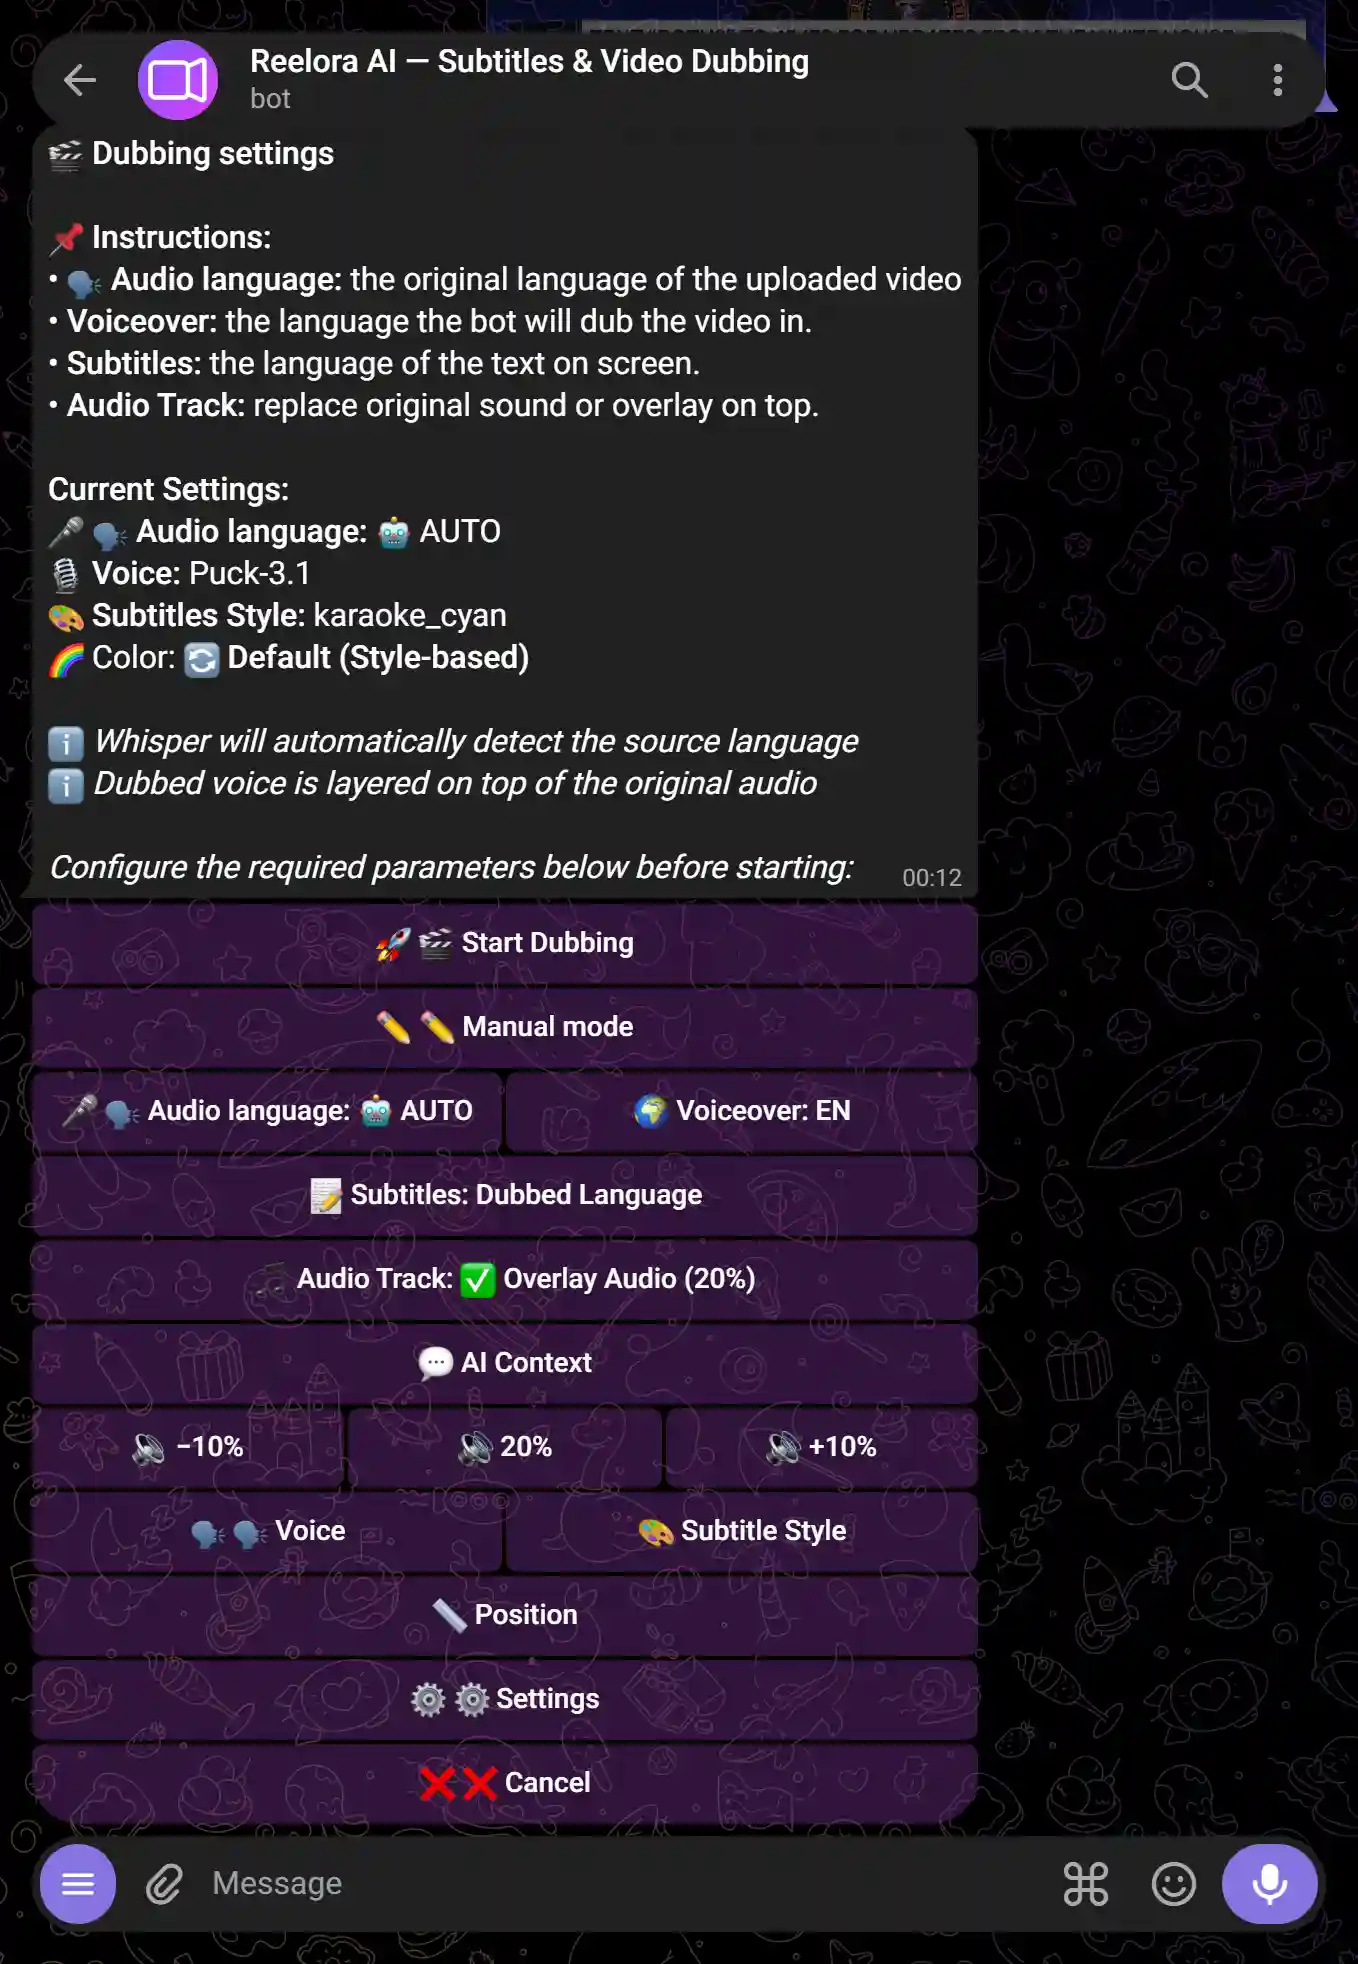
Choose mode and voice
3 modes are available:
- Auto — the bot transcribes and immediately voices the video with a new voice
- Semi-auto — the bot transcribes, you edit the text, and then it generates the voiceover
- Manual — you provide your own ready-made text for the voiceover
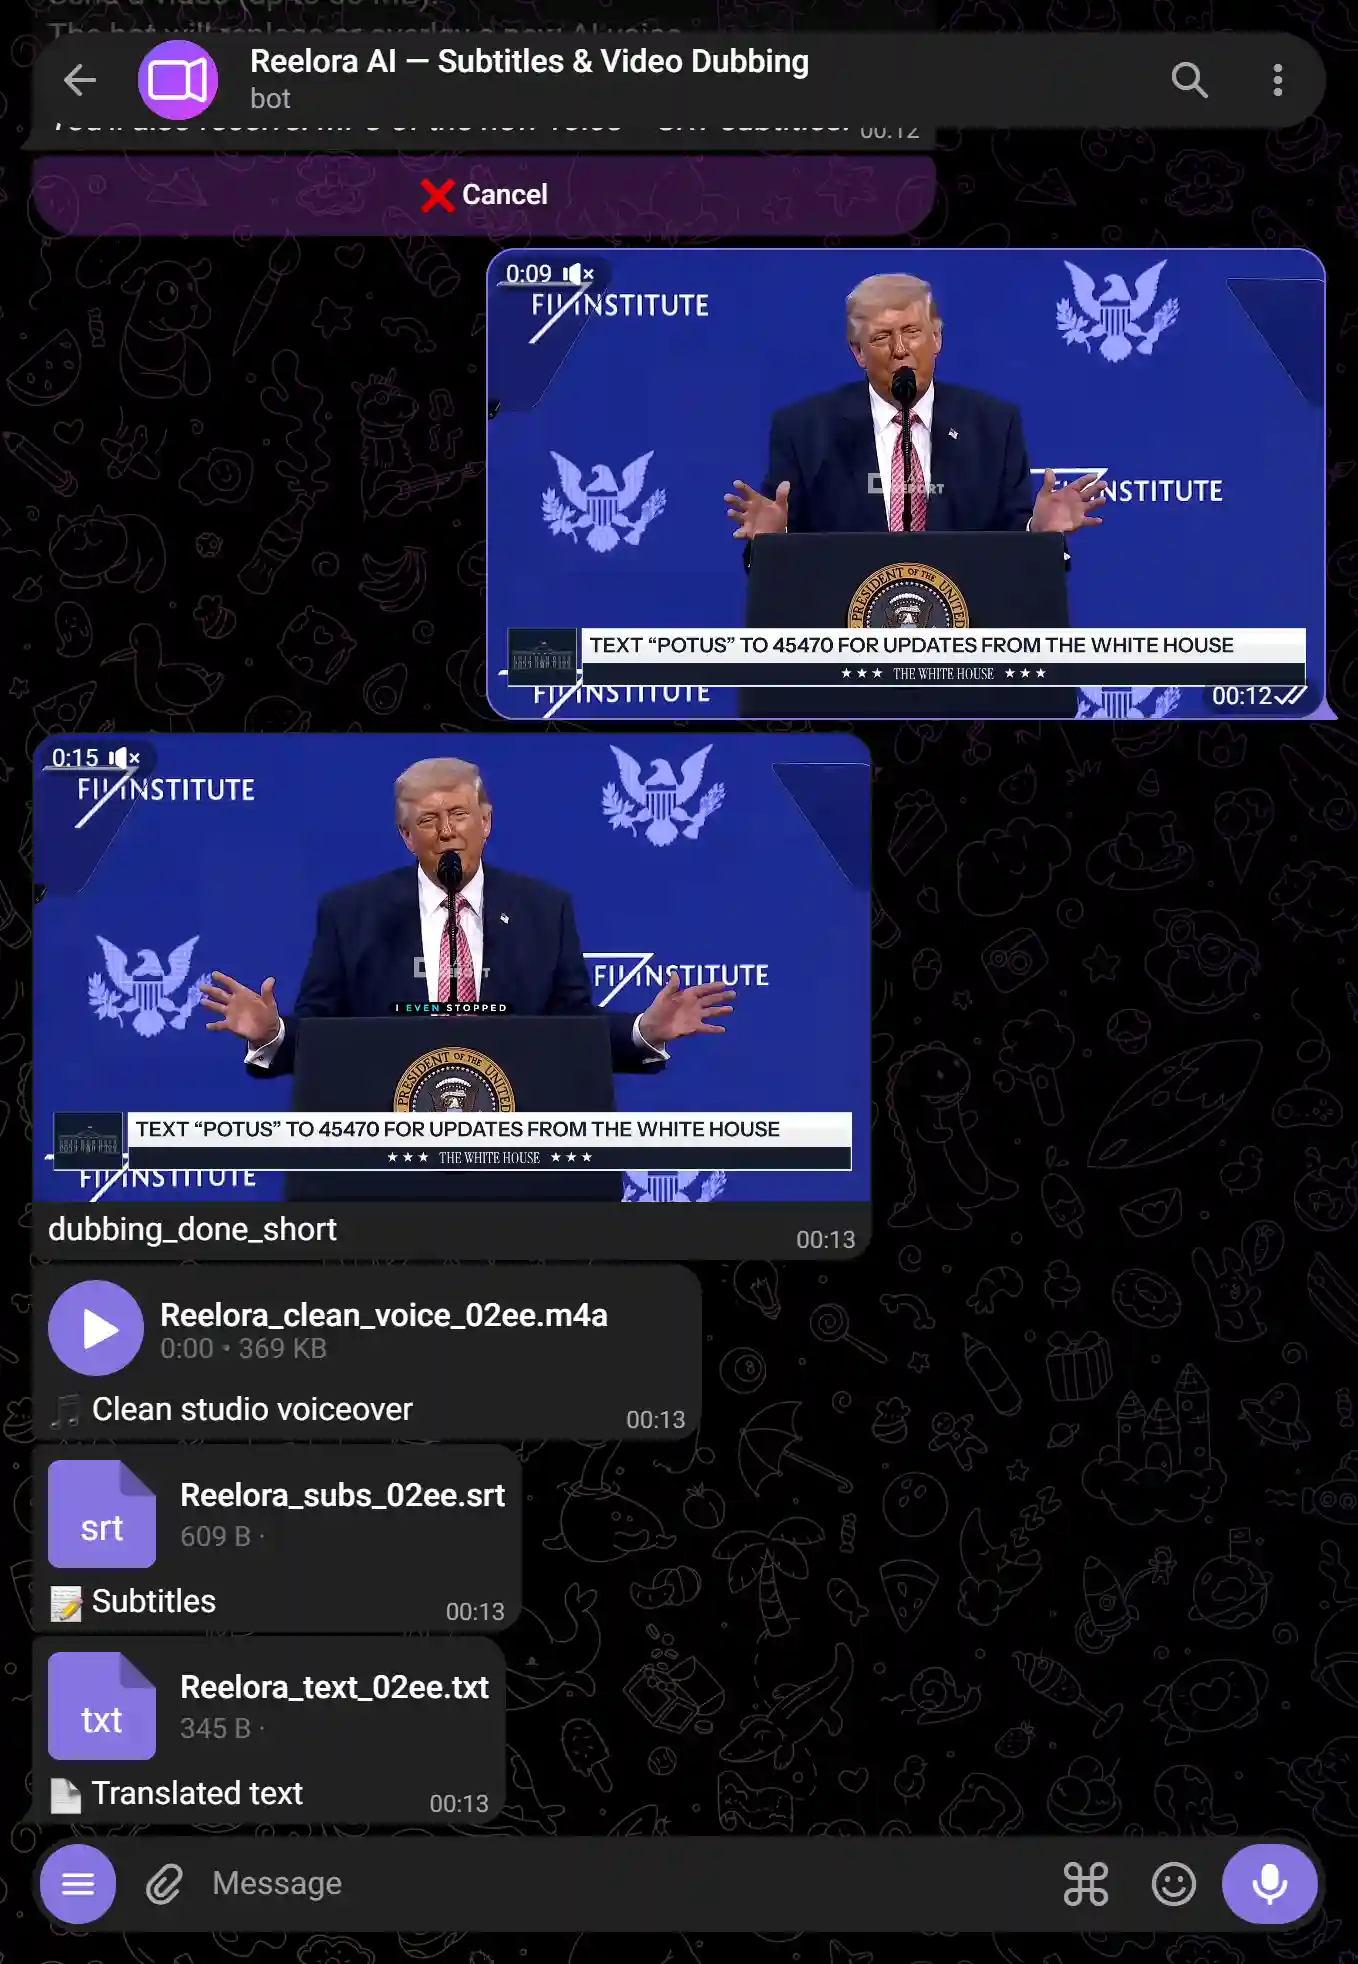
Get your dubbed video
The bot will return the video with a new voice and balanced audio tracks.
Select the voiceover feature
Press 🗣️ Voiceover in the menu or send /tts.
Send your text
Paste text in any language. Character limits range from 5,000 on Free to 1,000,000 on Pro+.

Choose a voice
Voices from Google, Gemini 2.5, Azure, Edge TTS, HuggingFace, and ElevenLabs (Pro+) are available. You can adjust speed and pitch.
Get your MP3
The bot will send the completed audio file — ready to use in any video editor.
Select the feature
Press ✂️ Remove Pauses in the menu or send /pauses.
Send video or audio
Processing limit ranges from 5 min on Free to 10 hours on Pro+.
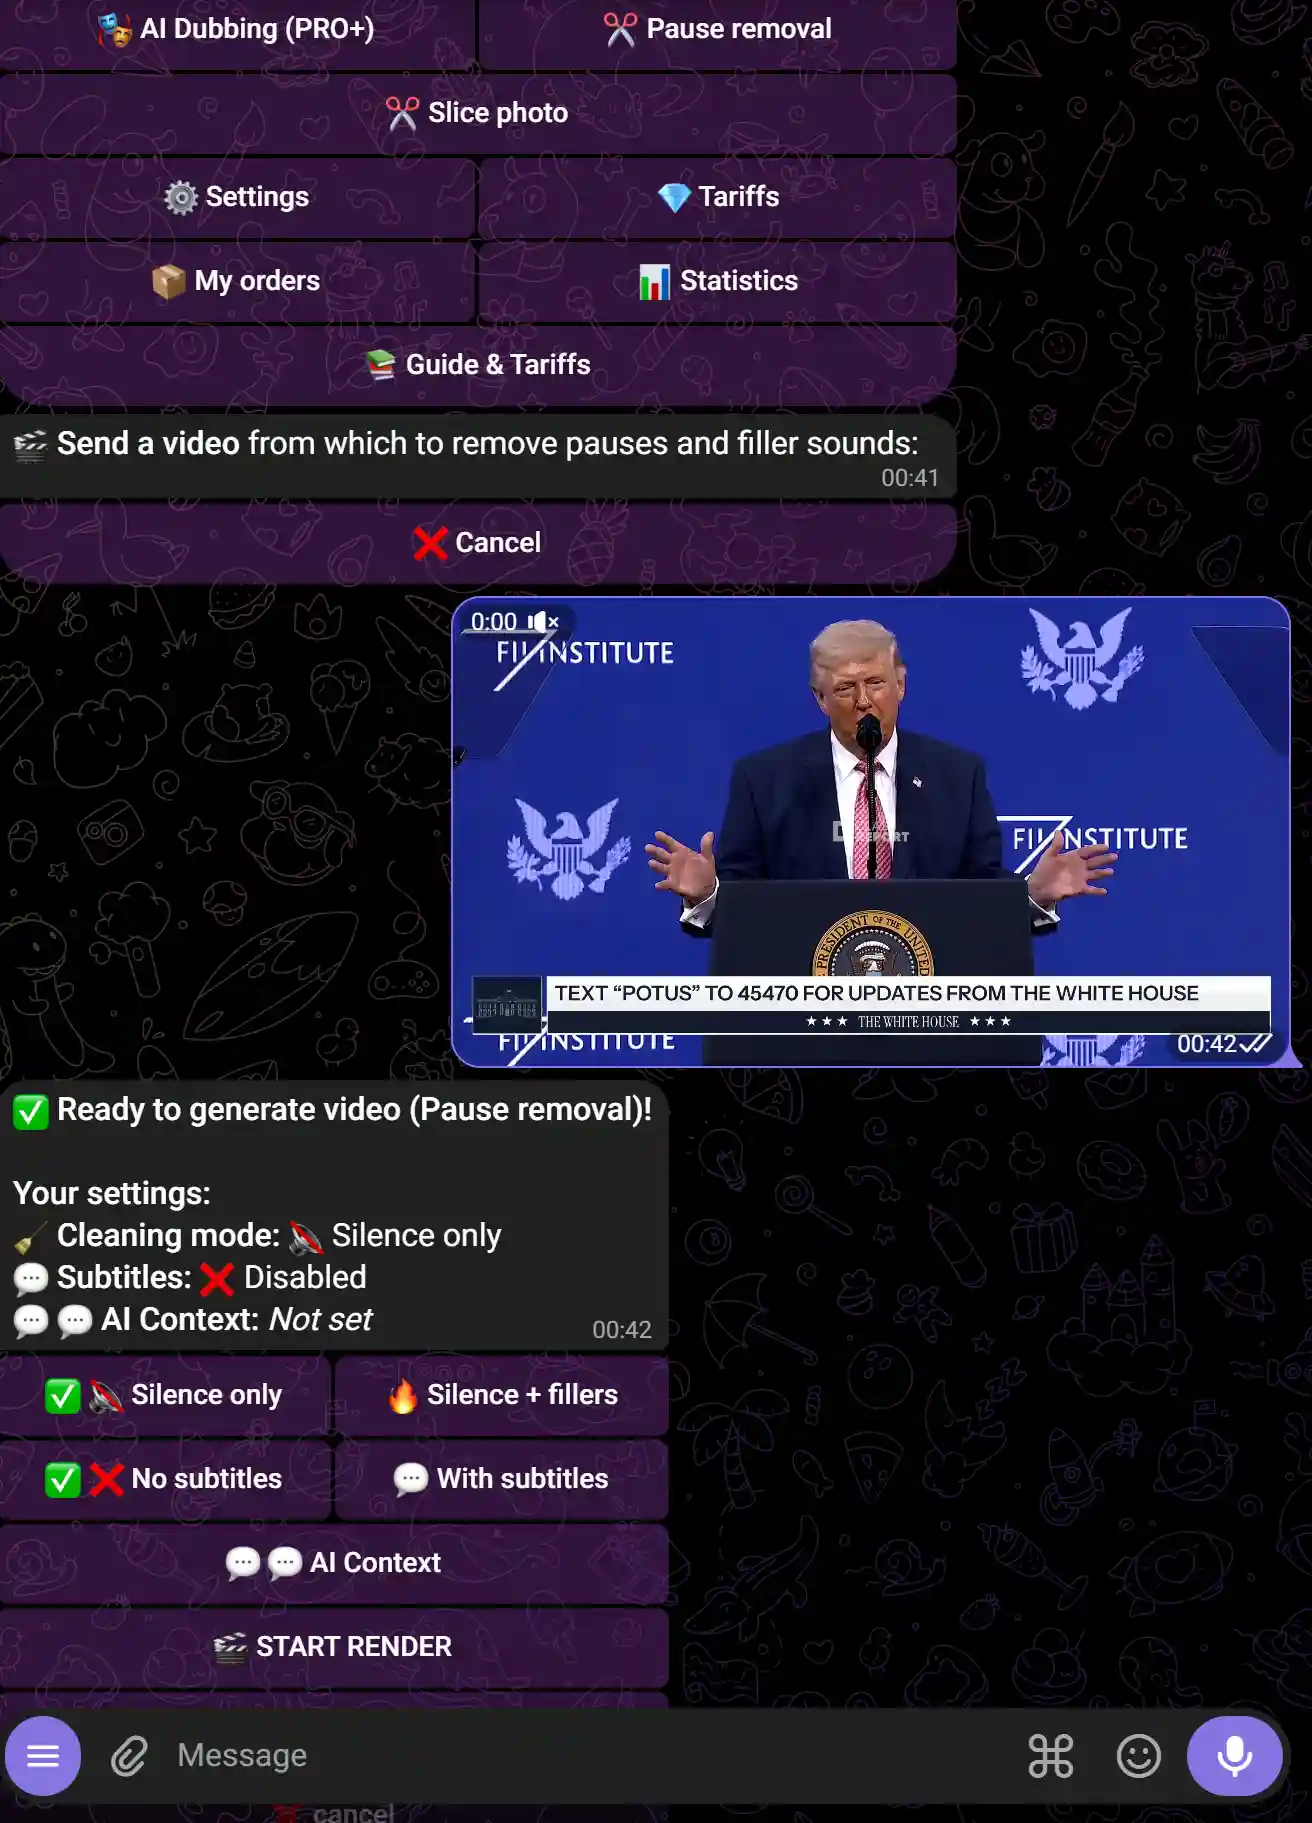
Adjust sensitivity (optional)
By default, the bot uses optimal settings. If needed, you can specify the silence threshold manually.
Get the trimmed video
The bot will return the video without pauses — usually 20–40% shorter than the original.